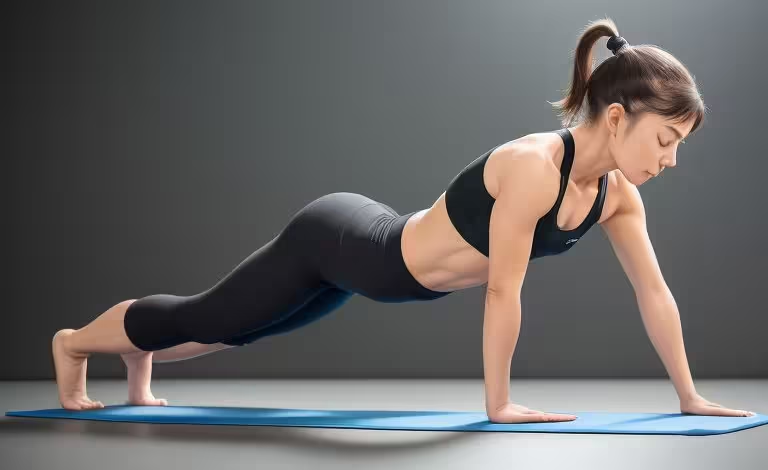
9 Best Yoga Poses For Low Back Pain Relief
Dealing with low back pain can be a real struggle, but did you know that yoga can be a fantastic remedy? Yoga not only helps in alleviating pain but also strengthens and stretches your muscles, improving overall flexibility and posture. Let's dive into some of the best yoga poses to ease that nagging low back pain.
What Causes Low Back Pain?
Before we get into the yoga poses, let's understand the common causes of low back pain. It can be due to poor posture, lack of exercise, stress, or even prolonged sitting. Identifying the cause can help in choosing the right yoga poses to address the issue.
1. Cat-Cow Pose

How to Do It:
- Start on your hands and knees in a tabletop position.
- Inhale as you arch your back, dropping your belly towards the mat (Cow Pose).
- Exhale as you round your spine, tucking your chin to your chest (Cat Pose).
- Repeat this sequence for a minute or two.
Benefits:
This pose helps in warming up the spine, improving flexibility, and relieving tension in the lower back.
2. Child's Pose

How to Do It:
- Kneel on the floor with your big toes touching and knees apart.
- Sit back on your heels and extend your arms forward, lowering your forehead to the mat.
- Hold this pose for a few minutes, breathing deeply.
Benefits:
Child's Pose gently stretches the lower back and hips, providing a soothing effect and relieving tension.
3. Downward-Facing Dog

How to Do It:
- Start in a tabletop position.
- Lift your hips up and back, straightening your legs and forming an inverted V shape.
- Keep your hands shoulder-width apart and feet hip-width apart.
- Hold this pose for 1-2 minutes.
Benefits:
This pose stretches the entire back, especially the lower back, hamstrings, and calves. It also strengthens the core and improves overall posture.
4. Sphinx Pose
How to Do It:
- Lie on your stomach with your legs extended and feet together.
- Place your elbows under your shoulders and forearms on the floor.
- Lift your chest off the floor, pressing your pubic bone down.
- Hold this pose for 1-3 minutes.
Benefits:
Sphinx Pose is excellent for gently stretching the lower back and strengthening the spine.
5. Pigeon Pose
How to Do It:
- Start in a tabletop position.
- Bring your right knee forward, placing it behind your right wrist, and extend your left leg back.
- Lower your hips towards the floor and extend your arms forward, resting your forehead on the mat.
- Hold this pose for a minute, then switch sides.
Benefits:
Pigeon Pose deeply stretches the hip flexors and relieves tension in the lower back and hips.
6. Bridge Pose
How to Do It:
- Lie on your back with your knees bent and feet flat on the floor, hip-width apart.
- Press your feet into the floor and lift your hips towards the ceiling.
- Clasp your hands under your back and press your arms into the mat.
- Hold this pose for 30 seconds to a minute.
Benefits:
Bridge Pose strengthens the lower back, glutes, and hamstrings, and improves spinal alignment.
7. Supine Twist
How to Do It:
- Lie on your back with your knees bent and feet flat on the floor.
- Drop your knees to one side, keeping your shoulders flat on the floor.
- Extend your arms out to the sides and turn your head to the opposite direction of your knees.
- Hold this pose for a minute, then switch sides.
Benefits:
This gentle twist stretches the spine, relieves tension in the lower back, and massages the internal organs.
8. Legs Up the Wall
How to Do It:
- Sit with one side of your body against a wall.
- Swing your legs up onto the wall as you lie down on your back.
- Scoot your hips as close to the wall as possible.
- Relax in this position for 5-10 minutes.
Benefits:
Legs Up the Wall is a restorative pose that relaxes the lower back, improves circulation, and reduces stress.
9. Seated Forward Bend
How to Do It:
- Sit on the floor with your legs extended straight in front of you.
- Inhale as you lengthen your spine, then exhale as you fold forward, reaching for your feet.
- Hold this pose for 1-3 minutes.
Benefits:
Seated Forward Bend stretches the entire back, hamstrings, and calves, providing relief from lower back pain.
Tips for Practicing Yoga Safely
Start Slowly
If you're new to yoga or dealing with significant back pain, start slowly and listen to your body. Don't push yourself too hard.
Use Props
Props like yoga blocks, straps, and bolsters can help you achieve the correct alignment and make poses more accessible.
Breathe Deeply
Focus on your breath during each pose. Deep, mindful breathing can enhance relaxation and help you maintain poses longer.
Stay Consistent
Consistency is key in yoga. Try to practice these poses regularly to see the best results.
Consult a Professional
If you have severe or chronic back pain, it's always a good idea to consult a healthcare professional before starting a new exercise routine.
Final Thoughts
Yoga is a wonderful practice that can offer significant relief from low back pain. By incorporating these poses into your routine, you can improve your flexibility, strengthen your muscles, and reduce discomfort. Remember to take it slow, use props if needed, and always listen to your body. Happy stretching!


